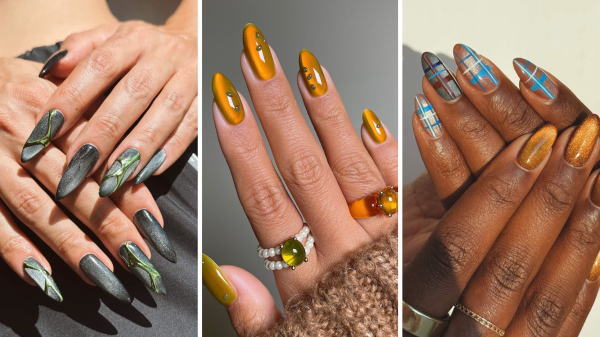
 Source images: Courtesy of @sansungnails, @nailartbyqueenieSave this storySave this story
All products featured on Allure are independently selected by our editors. However, we may receive compensation from retailers and/or from purchases of products through these links.
I hate long nail appointments. I get restless when sitting for extended periods with nothing to do. (I can’t even scroll on my phone!) That’s why I have typically avoided nail art unless it was for a special occasion—that is, until I discovered velvet nails. Velvet nails mimic the fuzzy texture of your favorite holiday dress, but with an added touch of sparkle.
Velvet nails always come back during the holiday season, but this year, the look is making its rounds early. It’s easy to see why: "The effect is magical," says Hannah Lee, a nail artist in Atlanta. “The way the light plays off the magnet-activated texture gives them a depth that feels modern and refined.” It’s also easy to combine with other nail trends for a look that has a bit more impact.
Another reason this manicure’s popularity might be rising now is the impending recession. Even some of us Allure editors have found ourselves opting out of “tier-three” (intricate) nail art looks for financial reasons. An allover velvet manicure is usually classified as “tier one” (simple) at salons, even if the effect is as eye-catching as a tier-three look.
For context, in a major city like New York, detailed nail art can run you about $14 per nail, on top of the $150 price for a basic gel manicure with nail extensions. At Art Nail NYC, where I got my first allover velvet set, the mani was considerably more affordable (and less time-consuming) because it was classified as a simple design.
You’ll likely hear people call these cat-eye nails. They’re not wrong; the way we see it, though, all cat-eye nails are velvet, but not all velvet nails are cat-eye. The distinction is in how the shimmering magnetic particles are dispersed. The particles in cat-eye nails usually form a straight or diagonal line (mimicking the look of a cat’s eye), while the particles in velvet nails can be spread out uniformly or in patterns like hearts and swirls.
 Courtesy of @sabletoothtiger
 Courtesy of @heygreatnailsThe modern velvet manicure
According to Eunice Park, brand development and education director at Aprés Nail, velvet nails now look very different than those of the past. “When I was in nail school in 2015, the magnetic particles were a lot chunkier and were against a black base,” she explains, noting that the finished look was always dark. “You’d see black with emerald green or dark purple glitter.”
Magnetic polish formulas needed a black base for the glitter particles to appear shinier, Park continues. Now, brands are formulating velvet polishes with finer magnetic particles (so there are more of them), so the glitter appears softer and more subtle—but with just as much shine. “I think that's what's extending the velvet nail-trend's life,” she says. “You're getting all these different variants of the look.”
In addition to more sophisticated nail polish formulas, we’re seeing manicurists get more creative with their art. They have been pairing the velvet finish with “chrome, subtle jewels, or artistic sculptural,” says Lupita Alonso, a nail artist in Stone Park, Illinois. We’ve also seen it with heart motifs and manipulated into ombré designs. “These details make it look more updated and modern.”
How to create velvet nails
Sure, the appointment can be shorter than other nail art appointments, but I understand if you still want to skip the salon trip completely and DIY your velvet nails. You’ll need a few things, though, like a base coat, topcoat, magnetic nail polish, and a magnetic wand. (Mooncat sells the magnetic wand on its own, but will include one for free if your order includes a magnetic polish.)
First, coat your nails with a base polish before applying a magnetic polish. Then, use a magnet to disperse the shimmery particles across the nail to create that glistening velvet effect. Holding the magnet at the tip or side of the nail creates the velvet effect, while holding it above the nail's center drags the particles into a straight line for the traditional cat-eye look.
If you're not ready to wield a magnetic wand, Bana Jarjour, a Los Angeles-based nail artist, suggests trying gel nail strips. (Note: This method does require you have an LED lamp.) She recommends the Dashing Diva Glaze strips, which come pre-painted with a velvet design. All you need to do is apply the adhesive strip to your nail, cut it to your desired length, cure it with an LED lamp, and file it into the shape you want. We also recommend press-ons; Static Nails has a velvet press-on set that will give you a salon-level manicure in seconds.
Looking for inspiration? Scroll for some of the prettiest velvet nail ideas, including looks that are simple enough to do at home and works of art you might want a professional to help create.
Velvet Nails Inspiration
Plaid velvet nails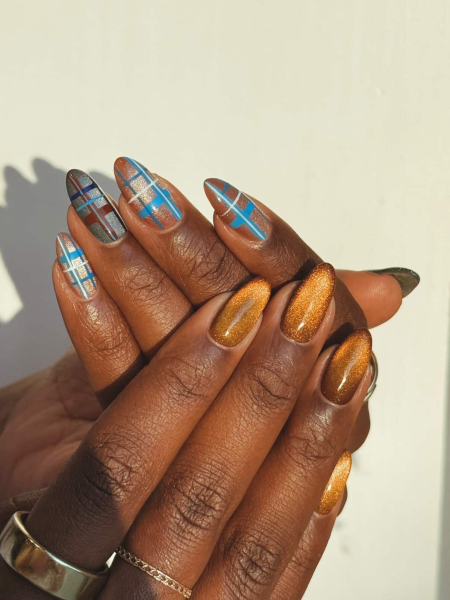 Courtesy of @nailartbyqueenieVelvet polka-dot nails
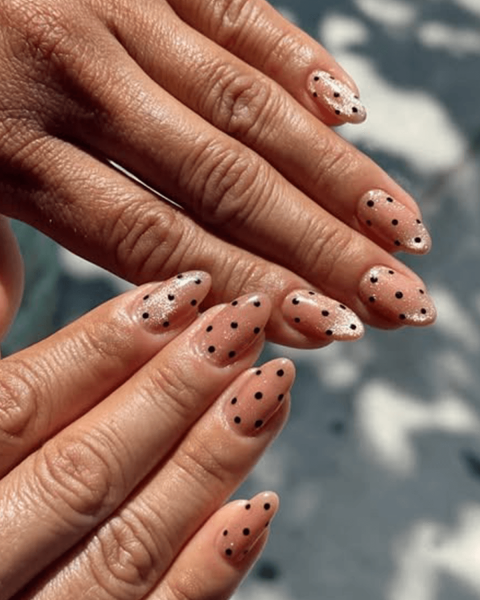 Courtesy of @nailartbyqueenieSheer velvet nails
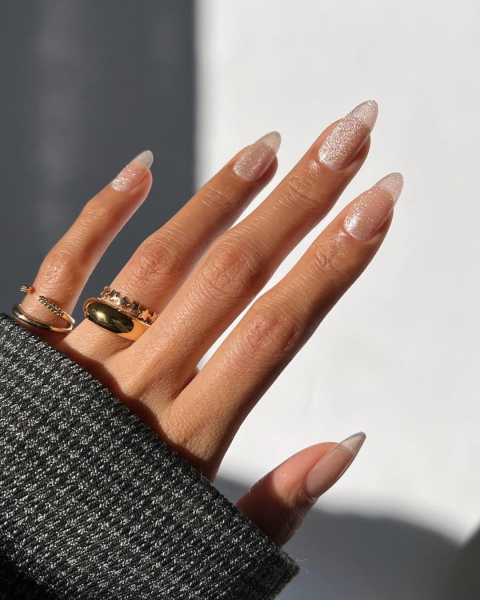 Courtesy of @overgloweditVelvet frame nails
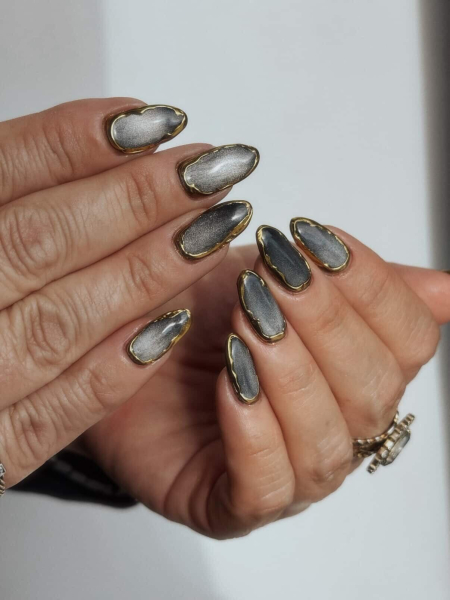 Courtesy of @nailartbyqueenie
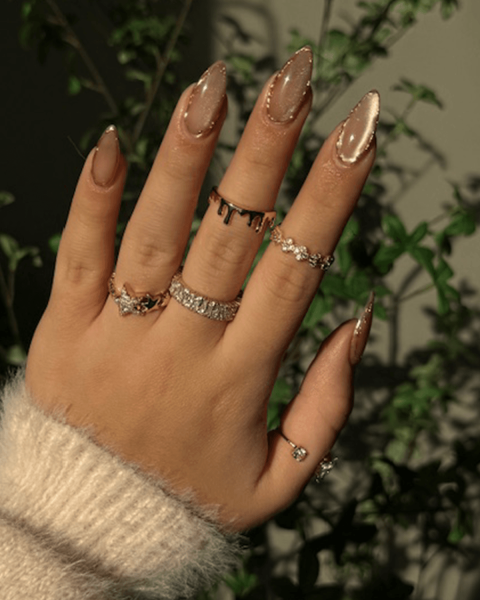 Courtesy of @nailsbyshirlecropVelvet French nails
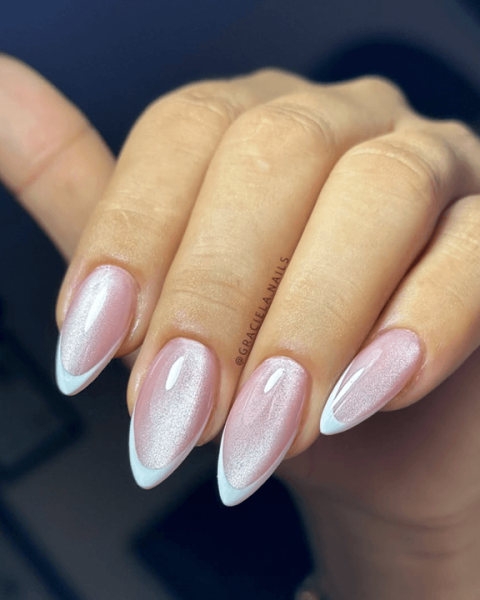 Courtesy of @gracielanails
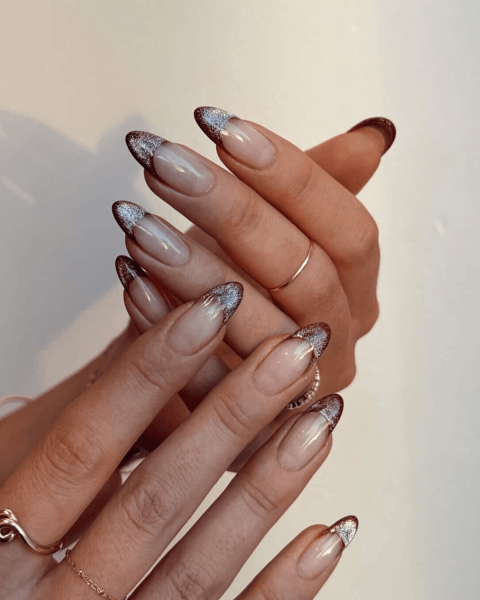 Courtesy of @nailartbyqueenieOmbré velvet nails
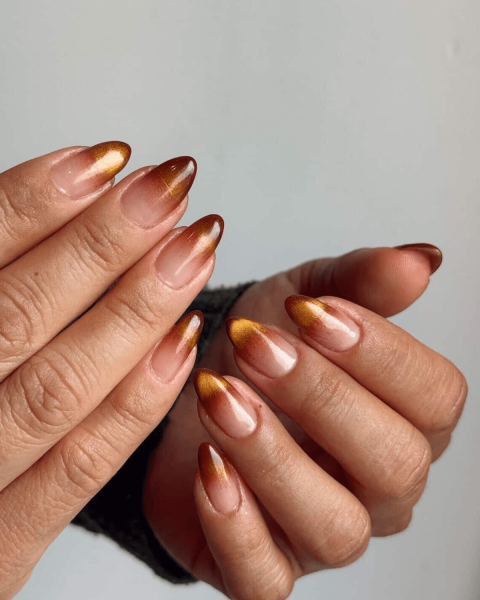 Courtesy of @nailartbyqueenieGreen-and-black velvet nails
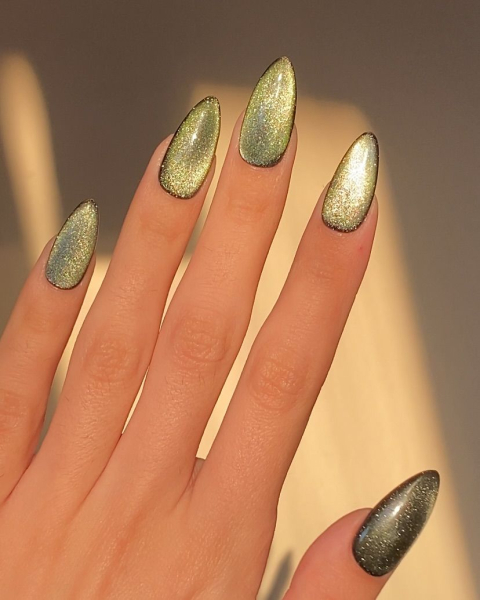 Courtesy of @sofiamiroslavanails
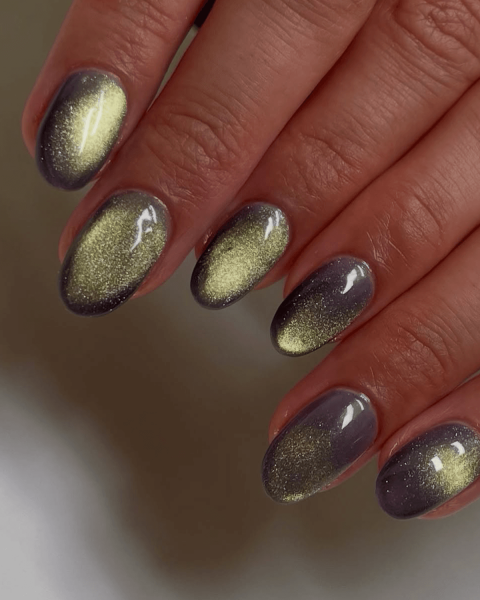 Courtesy of @nailsbyshaniVelvet amethyst frame nails
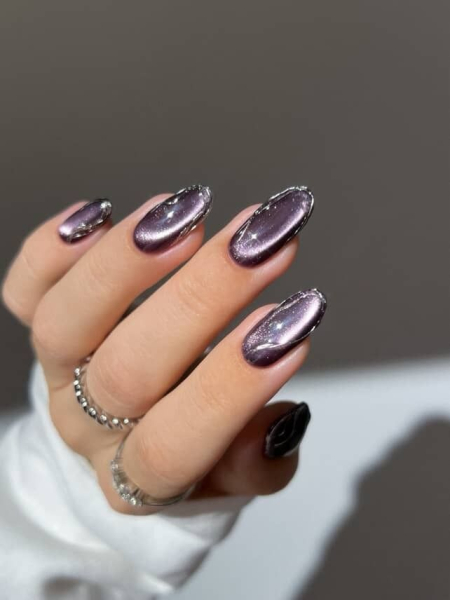 Instagram / @heygreatnailsVelvet nails with 3D embellishments
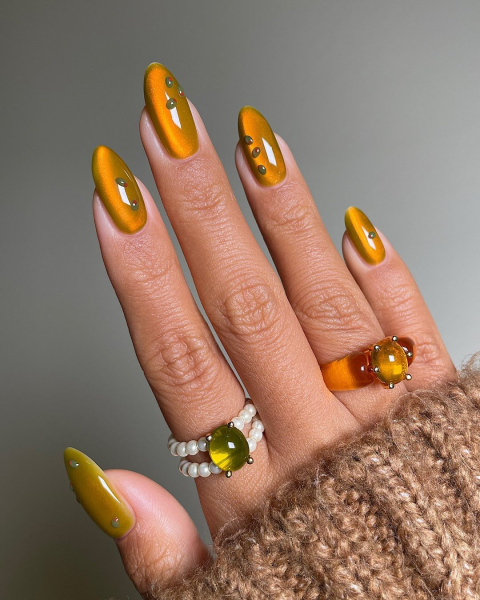 Courtesy of @sansungnails
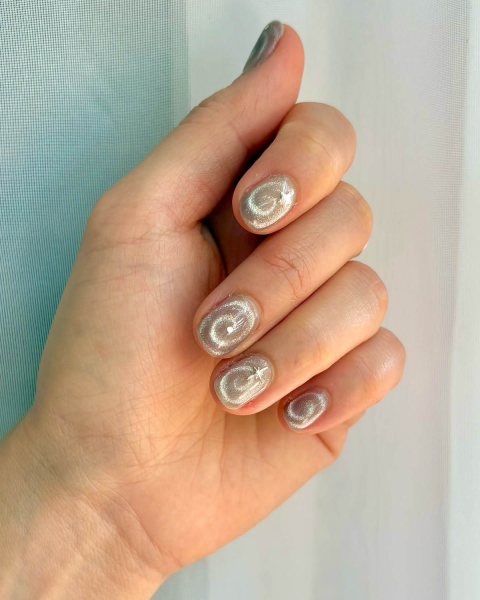
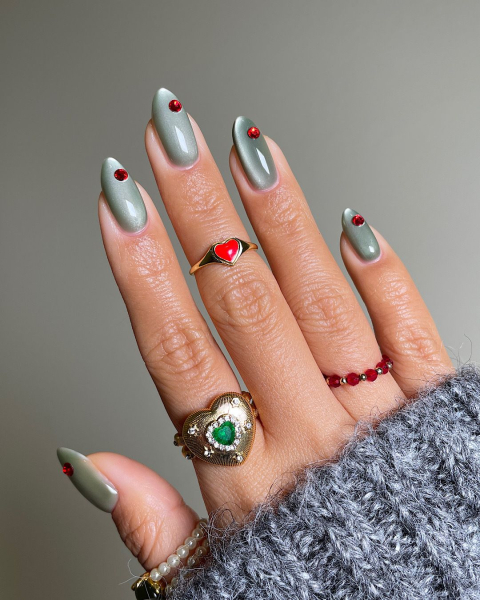 Courtesy of @sansungnailsVelvet aura nails
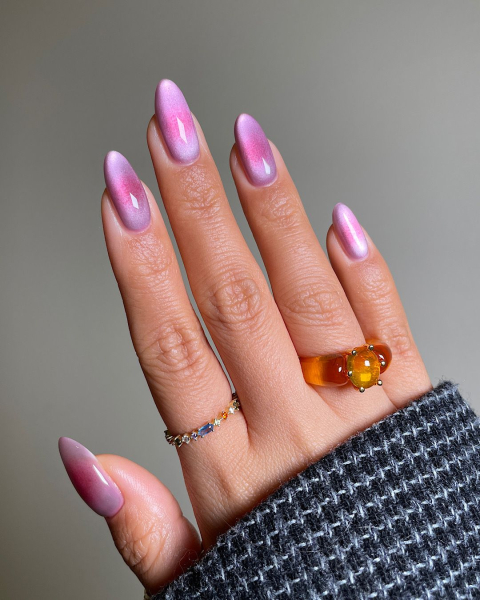 Courtesy of @sansungnailsChrome velvet nails
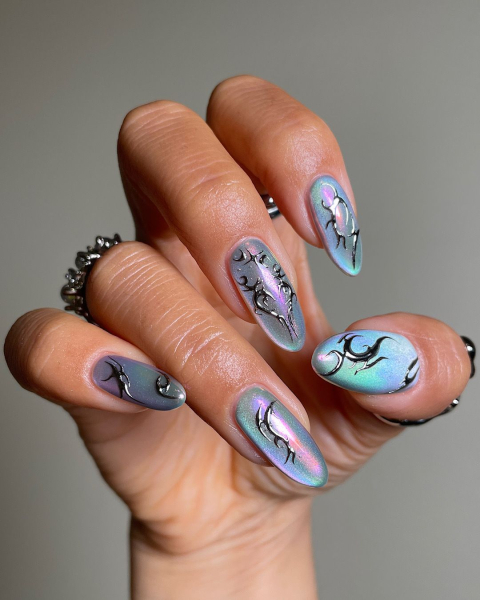 Courtesy of @sansungnails
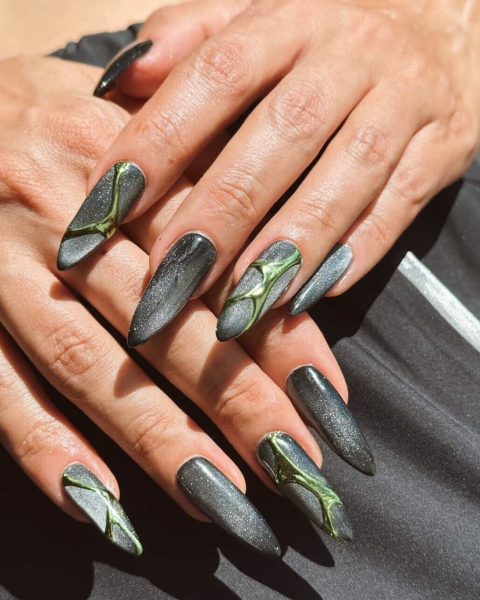 Instagram / @nailartbyqueenie
Leave a Reply